Composting Basics
Florida’s soil can be challenging for even the most experienced gardenistas and gardeners. Our soil is typically very sandy, limiting the retention of nutrients and water for plants to thrive. Although it’s easy and expensive to go to a local garden center and load up with bags of soil, amendments, and fertilizers. Good News : you don’t need to spend a fortune to improve your soil. There’s a cheaper and more environmentally friendly alternative that you can create yourself - compost. Whether you live in a house with a yard, or an apartment with no balcony, you can create a compost bin.
A major component vital to healthy balanced soil is organic matter. Homeowners can build the quality and quantity of organic matter within their gardens by using scraps from the yard and inside the home. This process is known as composting.
If you do a bit of digging, you will find that composting has been a part of most successful cultures for centuries. Composting is not a new concept, but with improvements in technology and major changes in lifestyles it has become a bit complicated. Let's talk about the basics and a few simple ways to get started composting.
Rewards to Composting
Improve the health of your garden’s soil
Increase nutrient holding capacity
Retain more water (holds up to 5x it’s own weight)
Minimize or eliminate fertilizer need
Control erosion
Minimize landfill contributions (household & yard)
Save money
Fun family project
How to Begin
One of the most important steps in composting is beginning with a plan. Do a little research on what types of composting setups would be best for your gardening space and needs.
Composting Options
The three composting options I encourage you to explore are the traditional compost heap, cylinder rotating compost, and vermicomposting - also known as worm composting. As with any garden project, there are positives and negatives when it comes to each of these options, which I’ll briefly outline below.
#1) Traditional Compost Pile
Pros:
Quick output (30 - 60 days if flipped every two days)
Easy to build or set up
Cons:
Large outdoor space needed: Requires at least 3x3x3 for best results
Labor intensive (needs to be flipped every two days)
Tedious and time intensive to turn
Difficult to access finished compost
Attracts wildlife & insects
Messy & smelly
Usually not aesthetically pleasing

The compost pile photo above is a great example of a traditional set up.
#2) Cylinder Rotating
Pros:
Quick output (60 - 90 days)
Not labor intensive
Easiest to retrieve finished compost
Minimal space needed outside
Keeps pests out
Cons:
Complex to build
Expensive (compared to other two options)
Depending on the set up, it can be difficult to retrieve finished compost

My husband and Dad built me a rotating compost bin for my birthday this year!

An up close look at the final cylinder compost bin my family built for me. Took them about 10 hours total to build. A lot of work but I love the finished set up!
#3) Vermicomposting
Pros:
Worms do the work
Minimal indoor space needed
Quick set up (3 hours)
Typically light
Cons:
Can only be done inside (worms require temps below 80 degrees)
Typically low yield
Longest time to break down (typically 90+ days)
Smelly without the perfect environment
Worms have to be fed one to two times a week
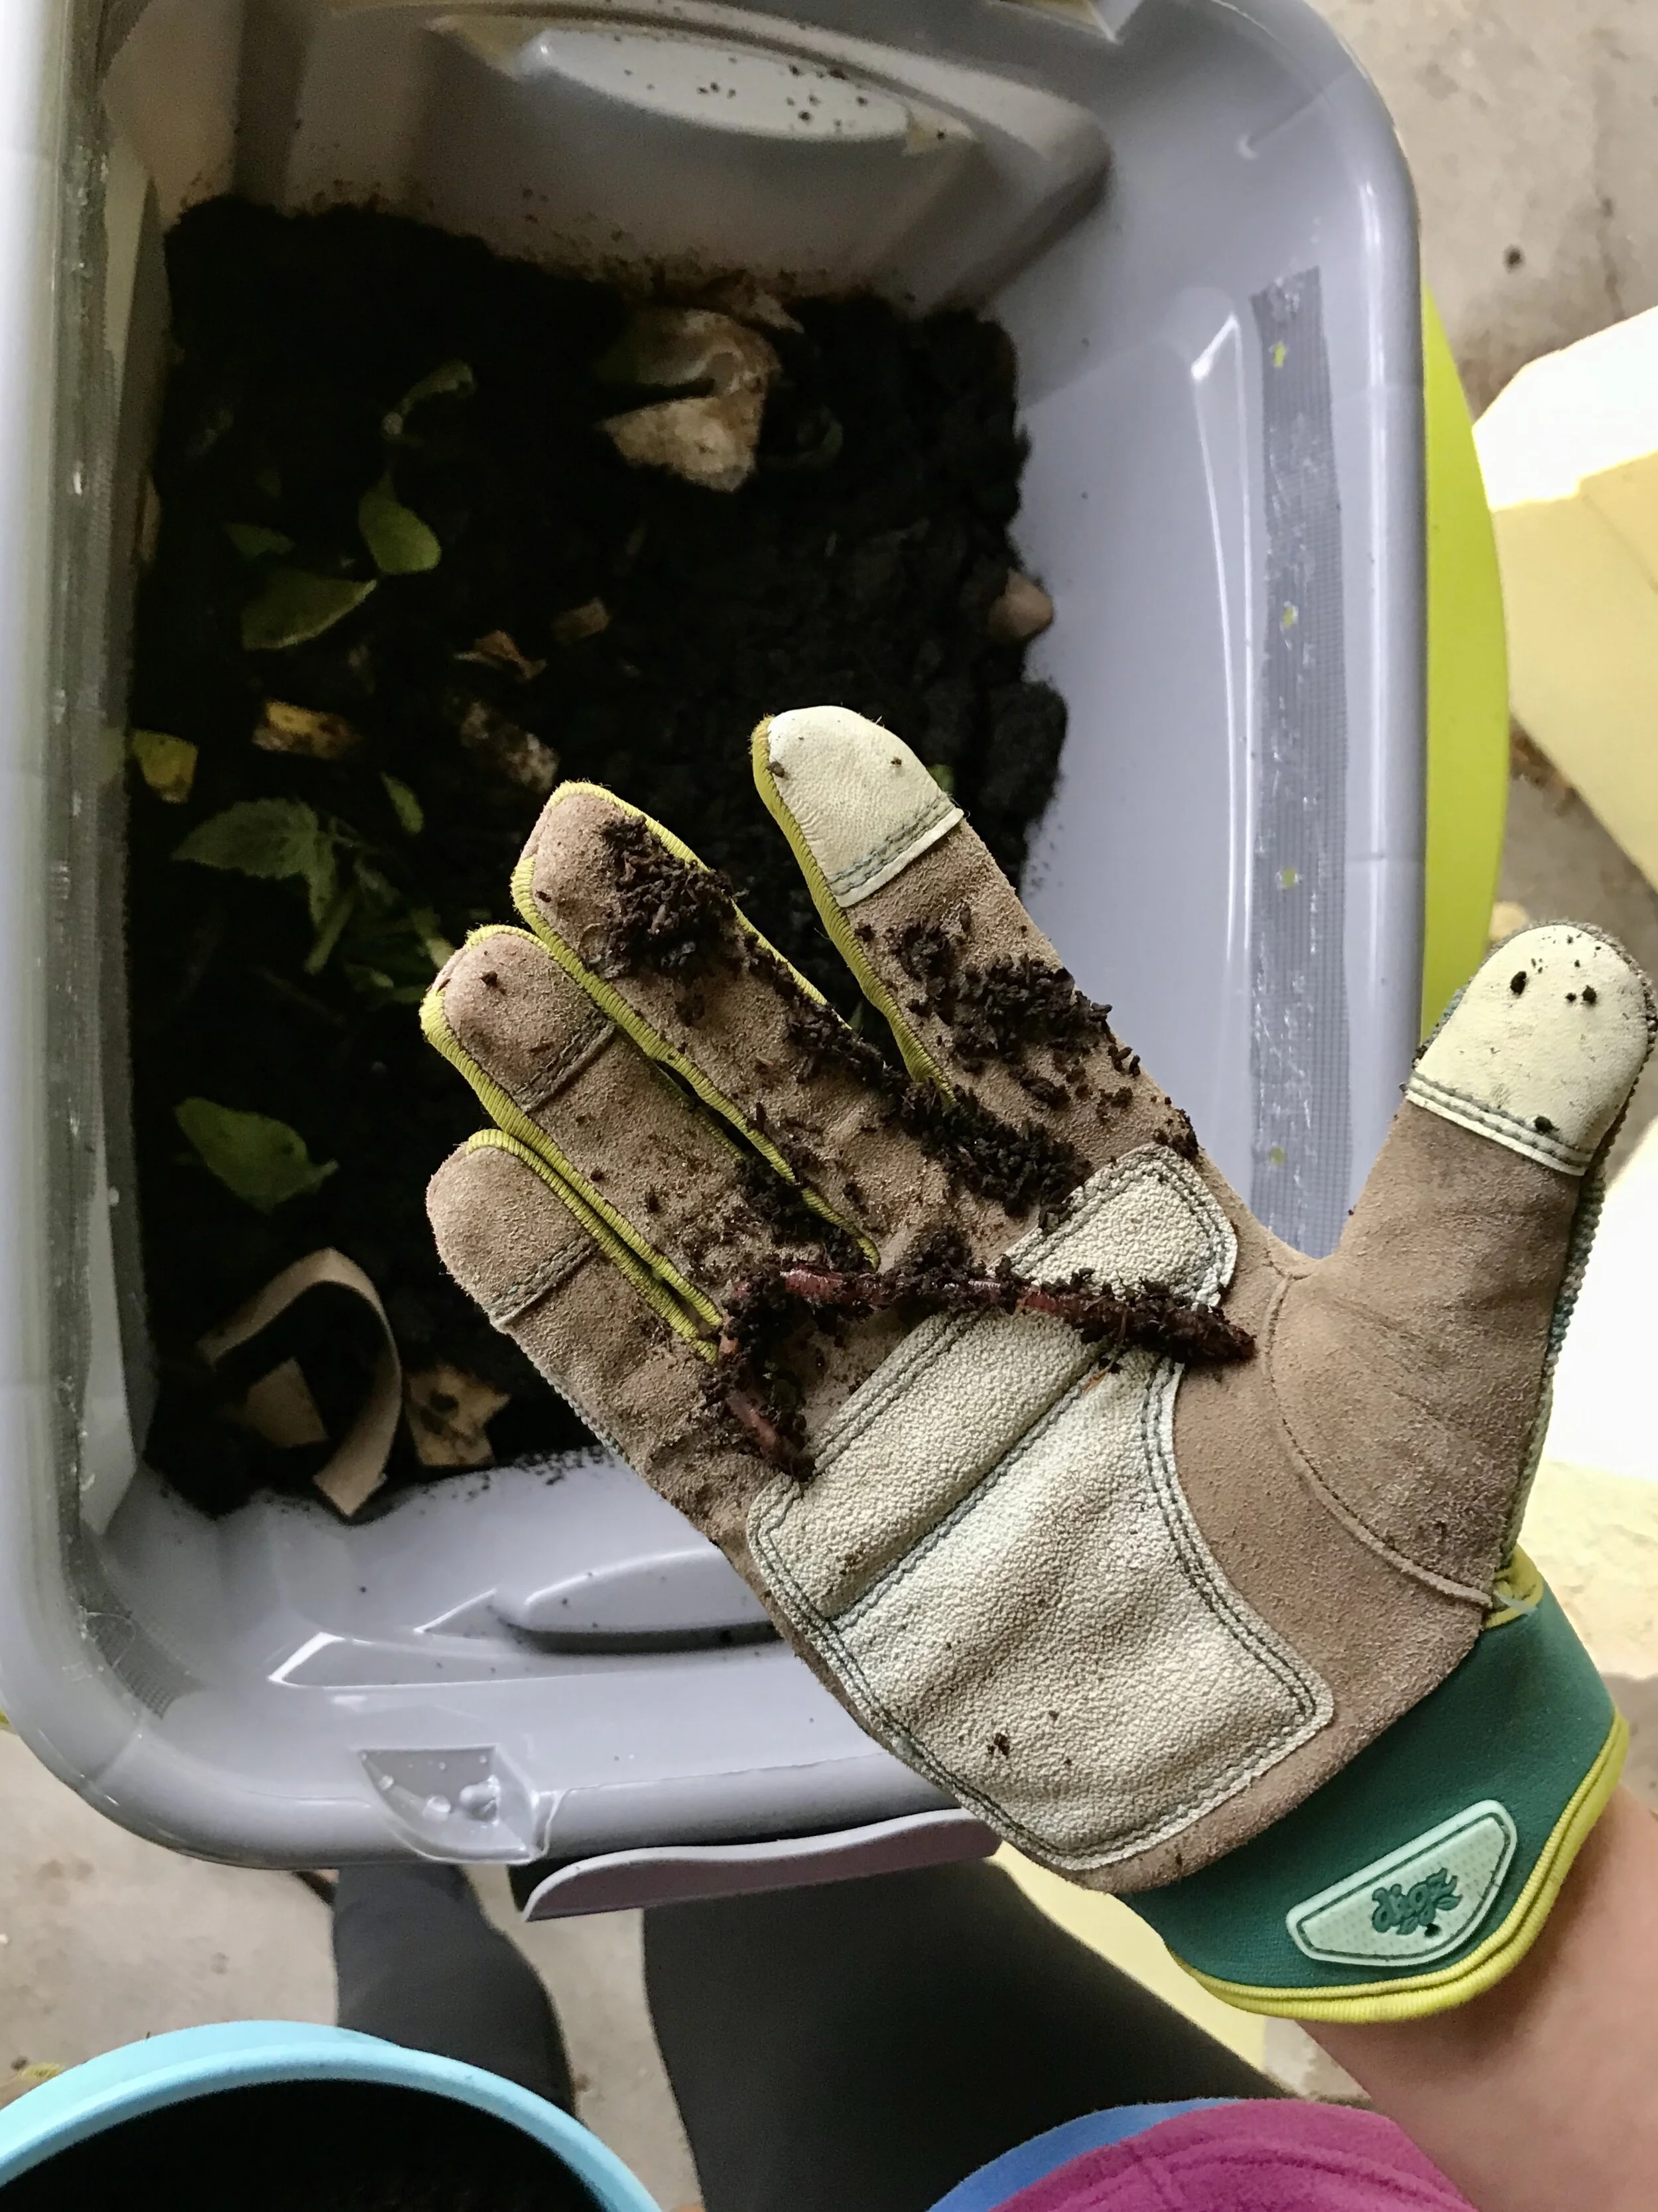
My worm buddies helping me with vermicomposting.
Create a Balance
No matter what composting option you choose, all composts require specific components to succeed. Those key elements are carbon, nitrogen, air, and water. Healthy compost is created by having the right balance of each of these elements to create the right environment for your good microbes to survive and do their job. Let’s break down what each of these components are for homeowners to know what we’re talking about.
Brown Materials (Carbon)
For your compost to succeed, brown materials (the carbon) are the highest quantity needed. These carbon materials are garden waste - like twigs, leaves, mulch - and household recyclable products such as paper and cardboard. Few things to keep in mind when we talk about composting these carbon items. If a plant has a disease or pest issue, it's best not to dispose of the sickly clippings in your compost. Only compost paper with black and white ink. Colored ink doesn’t break down as well and has chemicals that will kill your worms or impact the quality of your organic matter. Don’t forget to remove any tape or stickers from cardboard boxes. Glue and plastics do not break down and you can be left with a hot mess. Size does matter - the smaller the paper and cardboard particles, the quicker they break down. Never compost or recycle pressure treated wood when composting because of the chemicals.

Why remove the tape and stickers? Heres an example in my garden of tape that was left on cardboard that did not break down.
Green Materials (Nitrogen)
Nitrogen, or green materials, are the second most prominent element needed. Kitchen waste, like vegetable and food scraps, coffee grounds, but also some yard trash too like grass clippings or weeds are all excellent materials that can be recycled into your compost. There are some items from the kitchen that are not good for your compost bin, such as meat and dairy products, any type of seafood, or oily foods or condiments. When it comes to vermicomposting, worms can be sensitive to garlic, onion, and ginger. Just be mindful that not all composting options can “recycle” the same items.

Lots of greens for the compost mix come from my kitchen scraps - like cucumber and salad.
Typically, the ideal compost balance between brown and green materials is 2:1. Most of us are thrilled to be minimizing our contribution to the landfills and so it’s easy to focus a lot on recycling scraps from the kitchen, but keep in mind more carbon is needed to create the best environment for decomposition. Too much of one or the other will throw the balance off, causing the mix to decompose slower (too much carbon) or become too slimy or wet (too much nitrogen).

The egg shells and carton (minus the colored ink sticker) will all go into my compost bin. The shells provide nitrogen and the cardboard carton provides carbon.
Air & Water
Air and water are essential to the whole process. The bacteria that breaks down the household and yard waste needs air to survive. Without air, the compost becomes anaerobic. Anaerobic composting produces an amount of methane that can be exceptionally stinky and bad for your mix.
Water helps with the decomposition and regulating temperatures within the pile. Just like with the green and brown elements added to your compost, too much or too little water can dramatically impact the composting process. A good rule of thumb is to keep your mix moist, not dripping when it comes to how wet you want the compost.
Composting can be very rewarding and great to build up the health of your garden. Whatever your motivation, I recommend doing a little homework before jumping into a composting project. Find the compost option that works for your lifestyle. Maybe it is best to purchase the setup online rather than build. Or maybe a worm bin in the kitchen pantry freaks out your significant other. I’ve found doing my research ahead of time makes the project much more enjoyable because I know what I’m getting myself into and the project fits my needs. Just don’t forget to have fun along the way!
If you found this blog helpful or exciting, please share your thoughts in the comments below! I’ve included a few links below that you may find helpful along your composting journey. Also, follow my social media handles if you’d like to see what I’m up to in my garden.
Supporting Resources: